How to paint shutters
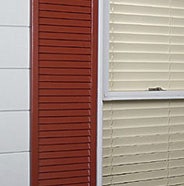
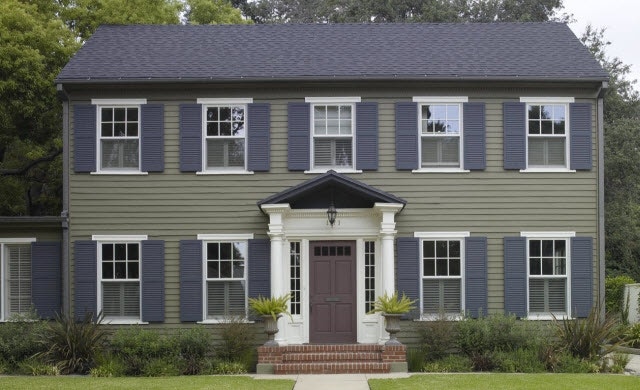
Shutters are another architectural feature that would benefit from the application of a high sheen paint.
For best results:
To promote adhesion and durability of your topcoat, use a BEHR® Multi-Surface Primer.
Not interested in applying a primer?
Consider using BEHR ULTRA™ products--innovatively developed as a paint and primer.
Tools & supplies
- Brush (2"-2½")
- Bucket
- Vinyl Gloves
- Ladder
- Paint Can Opener
- Rags
- Stir Stick
- Protective Apparel
Step-by-step process
Step 1
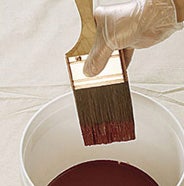
Begin your painting project by pouring thoroughly mixed paint into a bucket and dipping a quality 2"-2½" wide nylon/polyester brush into the paint.
TIP: When working outside, it is best to work out of direct sunlight and when temperatures are 50º-90º F with moderate humidity.
Step 2
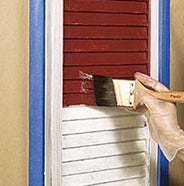
With your brush, paint the shutter slats starting at the top of the shutter.
TIP: To eliminate unwanted brush strokes, take a lighter stroke over the newly painted area.
Step 3
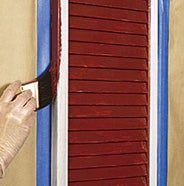
Beginning at a top corner of the shutter, paint the side edge of the shutter where it meets the body of the house.
Step 4
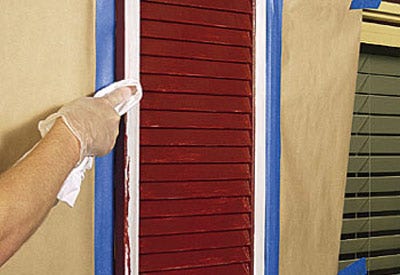
Continue until all side edges around the shutter are complete. Wipe off the excess paint that has overlapped onto the stiles.
Step 5
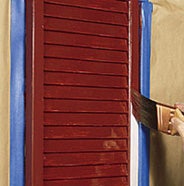
Return to the top of the shutter and begin painting the face of the shutter frame.
Step 6
Continue until the shutter is complete.
TIP: For optimum results in quality of color and finish, apply a second coat.